
4.1
Owner's of the Brinkmann Gas Grill 8300 gave it a score of 4.1 out of 5. Here's how the scores stacked up:

27
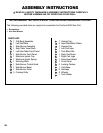
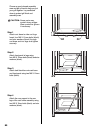
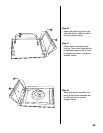
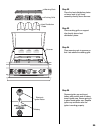
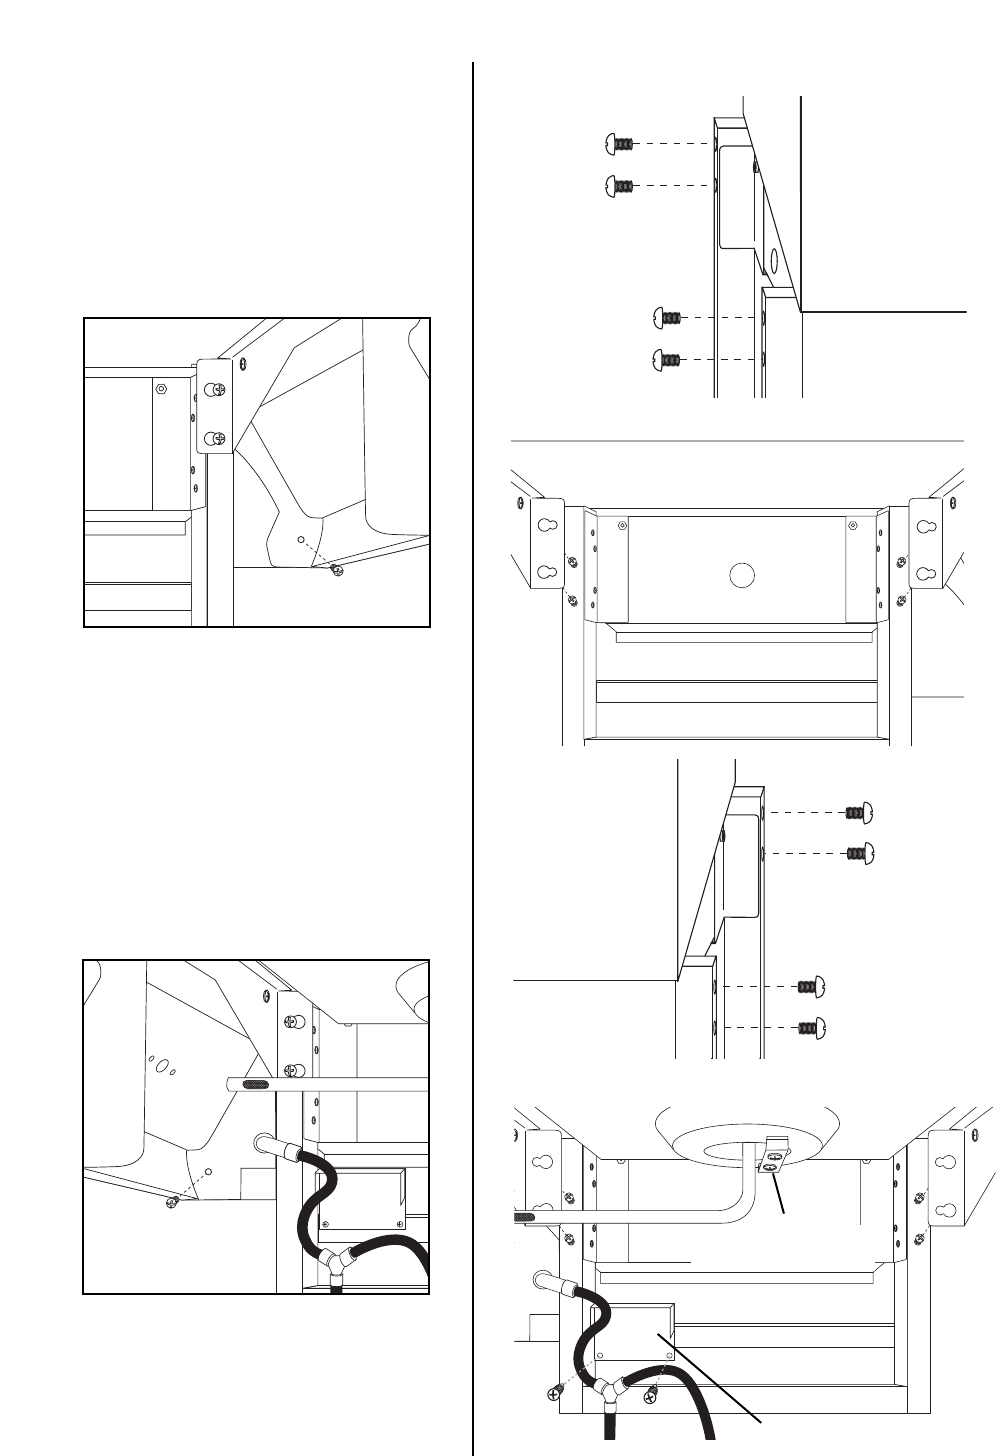
Step 13
Attach side table to left side of cart
frame assembly. Insert two
M6 X 12mm bolts (black) into both
left legs halfway. Place table over
bolts and slide toward back of grill,
then tighten securely. Fasten side
table front panel to grill body with
one M6 X 12mm bolt (black).
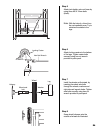
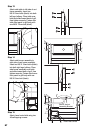
Step 14
Attach side burner assembly to
right side of cart frame assembly.
Insert two M6 X 12mm bolts (black)
into both right legs halfway. Place
side burner assembly over bolts
and slide toward back of grill, then
tighten securely. Fasten side burner
front panel to grill body with one
M6 X 12mm bolt (black).
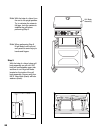
Step 15
Attach hose heat shield using two
#8 self-tapping screws.
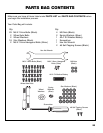
Hose Heat Shield
Burner Venturi
Assembly Bracket


Find Your Products By Category
Please Login
